
How to Optimize FaceTime Live Photos and Troubleshoot Issues
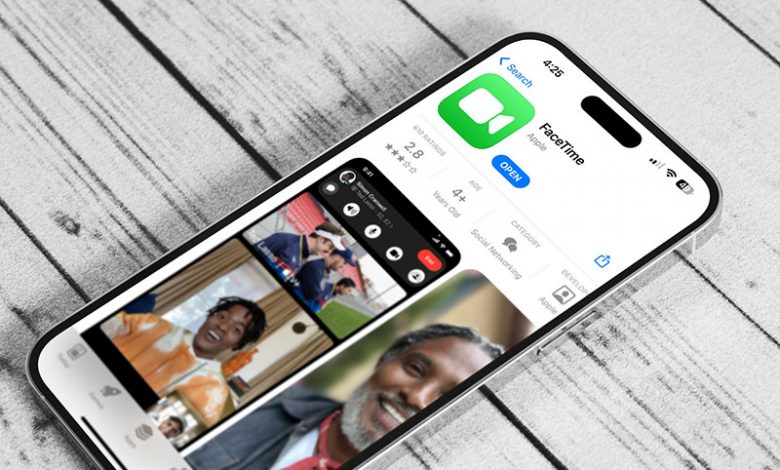
If you can't save FaceTime Live Photos, the first thing you need to do is check whether the feature is enabled on your device. You can turn on FaceTime Live Photos on iPhone/iPad and Mac. Follow the steps below:
Table of Contents
Steps to Enable FaceTime Live Photos on iPhone
Firstly, you must access 'Settings' on your iPhone or iPad. From there, locate and select the 'FaceTime' option. Then, scroll down the options until you find a toggle for 'FaceTime Live Photos'. If this toggle is in the off position (it should be white), you need to switch it on (it will turn green). Furthermore, ensure that your friend follows the same steps on their device, as FaceTime Live Photos must be enabled on both devices involved in the FaceTime call.
Steps to Enable FaceTime Live Photos on Mac
If you are using a Mac, you can activate FaceTime Live Photos through FaceTime preferences. To do this, click on 'FaceTime' from the menu bar at the top of your screen and select 'Preferences.' Within the 'Preferences' dialog box, click on the 'Settings' tab, find the checkbox that says 'Allow Live Photos to be captured during Video calls', and ensure it's checked. Now, you should be able to capture Live Photos during your FaceTime calls. Remember, you and the other participant will receive a notification whenever you successfully capture a Live Photo on a FaceTime call.
Clear out Storage Space
If you're sure that the FaceTime Live Photos feature is activated, but you're still encountering problems when trying to save it, it could be possible that your device's storage is full. In this case, the next step would be to clear some storage space on your device.
Steps to Check iPhone Storage Space
To see if storage space is indeed the issue, you can check the current status of your storage on your iPhone with these steps:
- Open the 'Settings' app on your iPhone.
- Scroll down and tap on 'General'.
- Then, select 'iPhone Storage'.
- Wait a few moments for your device to calculate the storage space.
If your storage is close to complete or full, you'll have to free up some space.
Tips on Clearing Unnecessary Data
Now that you've established that storage space might be the issue, here's how you can take action:
- Go through your photos and videos and delete any unnecessary ones. These usually take up the bulk of storage.
- Check your downloaded apps and delete those you no longer use.
- Clearing the cache of your apps can also help free up some storage.
- Lastly, you can also consider using iCloud to store your photos and files, as this can significantly reduce the space used on your device.
Techniques to Troubleshoot FaceTime App and Device
When you've permitted FaceTime Live Photos and cleared up storage space yet can't save Live Photos, it's time to take a few troubleshooting steps with the FaceTime app and your device. Consider reopening FaceTime, restarting your device, or removing any restrictions that may have been set on FaceTime and the Camera.
Steps to Reopen FaceTime
If issues persist with FaceTime, try turning it off and on again. This is an easy way to restart the app and may help fix minor problems. Here's how to do it:
- On your iPhone or iPad, go to 'Settings'.
- Locate and select 'FaceTime'.
- Slide the toggle to turn it off. Wait for a few seconds, and then turn FaceTime back on.
If you are using a Mac, click on 'FaceTime' from the menu bar and open 'Preferences'. In the 'Settings' tab, uncheck the box that says 'Enable This Account.' After a few seconds, check the box again to turn FaceTime back on.
Steps to Restart iPhone
Restarting your iPhone, iPad, or Mac can potentially fix many issues, even those relating to FaceTime. Here's a quick guide:
- Hold down the side button and either volume button until sliders appear.
- Drag the slider to turn off your iPhone entirely.
- After the device turns off, wait for about 30 seconds.
- Then press and hold the side button again until you see the Apple logo to restart your iPhone.
Removing Restrictions from FaceTime and Camera
Sometimes the issue may stem from restrictions set on FaceTime and the Camera, which could prevent you from saving Live Photos. Go through your settings to ensure that no restrictions are set that could hinder your ability to use FaceTime Live Photos.
Methods to Ensure Live Photos Visibility and Reliability
If you still can't see the Live Photos you've captured during your FaceTime call, there may be an issue with iCloud Photo sync, or your device may need an OS update. Here are two methods that might help:
Steps to Re-enable iCloud Photos
Re-enabling iCloud Photos syncs your photos between devices and might help you to view the Live Photos you've taken. Use the steps below to attempt this method:
- Open 'Settings' on your iPhone.
- Scroll down and tap on 'Photos'.
- Find the 'iCloud Photos' option and use the toggle to disable it.
- Wait about a minute and then re-enable the option.
- Now head to your Photos app and check if your FaceTime Live Photos are there.
If you're using a Mac, you can follow similar steps. Head to the Photos app, click 'Preferences' from the top menu bar, move to the iCloud tab and deselect then reselect the iCloud Photos option.
Steps to Update iPhone’s Operating System
If all else has failed, updating your operating system may be necessary. Having the latest OS update ensures all features, including FaceTime Live Photos, should be functioning correctly. Here's what to do:
- Open the 'Settings' app on your iOS device.
- Scroll and tap on 'General'.
- Select 'Software Update'.
- If a software update is available, follow the prompts to install it.
After the update, give FaceTime Live Photos another try.