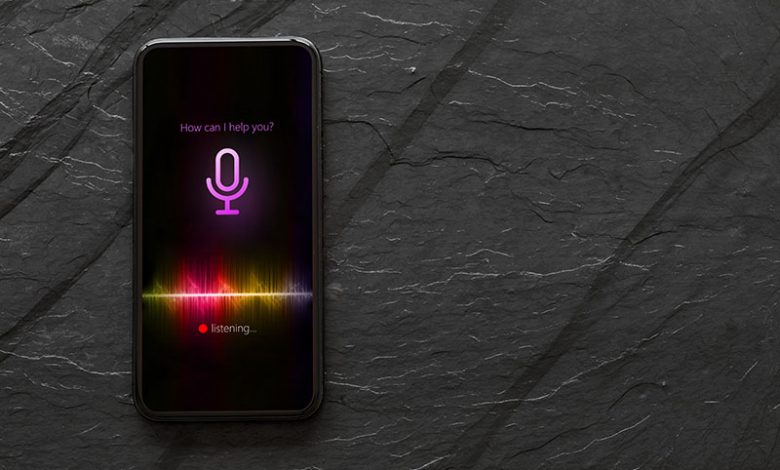
Troubleshooting Your iPhone Microphone: Solutions and Professional Help
Your iPhone mic plays a pivotal role in performing myriad functions like processing Siri voice commands, recording voice memos, making FaceTime calls, and more. However, when this key iPhone component stops working correctly, it can throw a spanner in the works, hampering your day-to-day communication tasks. Fixing an iPhone microphone that has stopped working may seem daunting, but there are simple solutions that can resolve the issue. The issue with your iPhone microphone can vary from it completely not functioning to producing muffled or unclear audio. The root of this problem can be associated with either software or hardware glitches. It may be as simple as a blocked microphone due to debris or dirt or more complex as a faulty iOS system.
Knowing which microphone is faulty is the first step in troubleshooting the issue. If you own an iPhone 5 or later, you are dealing with three microphones: one serving phone calls at the bottom, another on the front for the speakerphone, and the last on the back for camera functions. You can test each individually by recording a voice memo (bottom mic), initiating a call on speakerphone (front mic), and filming a video (back mic). Compliance with these simple checks will help pinpoint if all microphones are faulty or if only one is causing trouble.
Table of Contents
Initial Troubleshooting
If the problem involves a single microphone, the issue is probably not as severe as if all microphones fail. If all the microphones aren't working, you are probably dealing with a hardware issue, which may require visiting the Apple store. But before jumping to conclusions, performing an initial round of troubleshooting steps is essential, such as cleaning the mic or resetting your iPhone settings. This can prove effective in resolving simple glitches causing the issue. For problems persisting after these steps, further troubleshooting might be needed.
Methods to Resolve Microphone Issues
Several methods can be tried to fix the microphone not working issue on your iPhone. These range from adjusting app permissions to resetting your entire device settings. Here are some strategies you can adopt to resolve this problem:
Removing Microphone Restrictions for Specific Apps
If your microphone doesn't seem to work with specific applications, it could be because those apps do not have the necessary permissions to access the microphone. Usually, when an app requires access to the microphone, it will prompt you for permission. If you have mistakenly declined such permissions in the past, you will need to grant access manually. You can do this by entering your Settings, scrolling down to "Privacy," and then clicking "Microphone." Locate the app in question and toggle the switch next to it to permit it to use the microphone. Ensure to check if the microphone is now functional with the app.
Disconnecting Headphones to Enable the Inbuilt Microphone
Occasionally, an iPhone may fail to recognize that headphones have been unplugged and may still try to send audio input through the headphone jack. If you've been experiencing issues with the microphone after using headphones, try forcing your device to restart. This can help rectify any glitch causing the problem and allow your inbuilt microphone to function as anticipated.
Turning off the Noise Cancellation Feature
Noise cancellation is a unique iPhone feature designed to bat down ambient noise during calls. However, at times, issues can arise with this feature leading to microphone malfunctions. If you suspect your issue is related, disable the noise cancellation feature. To do that, go to Settings, click on Accessibility, and then tap on Audio/Visual, toggle off Phone Noise Cancellation. Note that the iPhone 13 models do not have this feature. After disabling it, test your microphone to see if it's working fine.
Resetting All Settings on the iPhone
If all else fails, you can reset all your iPhone settings.
Note: Resetting your iPhone's settings will revert various settings (such as network, display, privacy, etc.) back to their default configurations. It won't erase your apps, photos, or other data, but it's a good idea to back up your iPhone before proceeding. After the reset, remember to test each microphone again.
- Open the "Settings" app.
- Scroll down and tap on "General."
- Reset Settings: Scroll down and select "Reset." Choose "Reset All Settings." You might be prompted to enter your device passcode.
- Confirm the reset by tapping "Reset All Settings" again.
After the process, your iPhone's settings will be restored to their original defaults, but your apps, photos, and personal data will remain intact. However, you must reconfigure some settings, such as Wi-Fi connections and privacy preferences. Remember that this will not erase your content, but it's always a good idea to have a recent backup of your device, just in case. Also, resetting settings might affect specific configurations you've made, so be prepared to set things up again after the reset.
Updating the iPhone Operating System
An outdated operating system often gives rise to various issues in your device, including microphone-related problems. Keeping your iPhone's operating system updated is crucial in ensuring seamless performance. Here are the steps to check for available updates and download them:
Check for Available Updates
If you are encountering issues with your microphone, there is a chance that it may be a software problem, and Apple might have already addressed it in their latest updates. To check for updates, open the Settings app on your iPhone and then go to the "General" settings. Tap on "Software Update" and await while your device searches for existing updates. If there is any, it's recommended to proceed with the update.
Download and Install the Updates
Once your device finds an available update, download and install it. To do this, tap on "Download and Install." Note that it is advisable to back up your important data before installation. You should also ensure that your device is charged at least 50% and connected to a stable Wi-Fi for the update without interruptions. After the update, perform the earlier mentioned microphone tests to see if the issue is resolved.
Turning Off Bluetooth
Another potential fix to the microphone issue involves turning off your iPhone's Bluetooth. If your iPhone continuously tries to connect to a Bluetooth device with its microphone capabilities, this could disrupt the functionality of the iPhone’s inbuilt microphone. To rectify this, open your Settings app and tap on Bluetooth. Toggle off the switch next to Bluetooth and then check whether your microphone issue has been fixed.
If your iPhone's microphone still isn't working, it might indicate mechanical damage that needs professional attention. Here's what you can do in such a case:
Recognizing Possible Mechanical Damage
If you've exhausted all the troubleshooting steps detailed in this guide and your microphone fails to work, the issues are likely due to physical damage. The microphone parts may be broken or impaired, which can't be addressed through software solutions. Assess your iPhone for any visible damage, and if the microphone issues started after a fall or an accidental impact, it further indicates mechanical damage.
Contacting Apple Support or Authorized Service Centers for Further Assistance
It's best to get professional help when faced with potential mechanical damage. You can contact Apple Support for further assistance if your device is within its warranty period or covered with AppleCare or AppleCare Plus. Depending on your coverage, they are typically more than willing to assist with repairs, often with minimal or no costs. Visit the nearest Apple Store or follow the guidelines stipulated by Apple to contact their support team. A professional diagnosis and remedy are your surest bets to deal with any lingering iPhone microphone issues, ensuring your device returns to its optimal performance.


