Unlocking the Mystery of Double Exposure Effect in Photoshop
Double exposure is a photography technique combining two or more images into a single frame to create striking and creative imagery. Originally derived from film photography, this technique exposed the film in a camera multiple times to different images. Today, these effects can be replicated digitally with software like Adobe Photoshop, broadening the possibilities for photographers and digital artists.
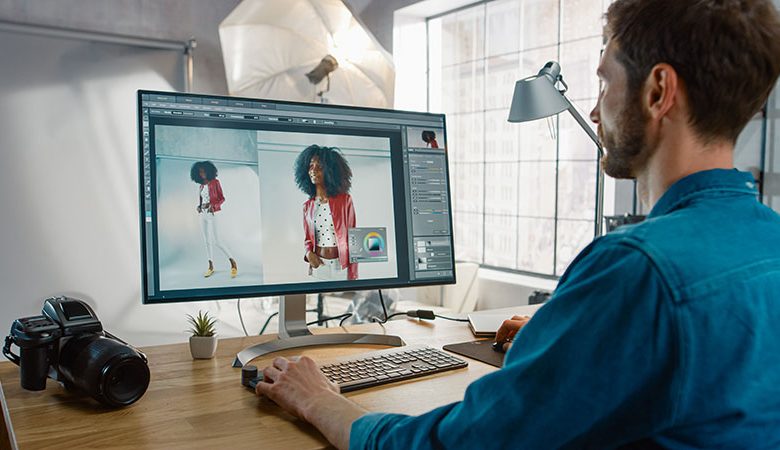
The double exposure effect is a method that combines two or more exposures into a single image. With the evolution of digital editing tools, double exposure has expanded beyond the confines of a darkroom. Now, photographic artists can manipulate multiple layers, adjust blending modes, and alter opacity levels to achieve the desired effect in Photoshop. That has allowed for greater creative control and creative precision in photographic manipulation.
Table of Contents
Origin and Usage of the Double Exposure Effect
The origins of the double exposure technique date back to the early days of film photography when photographers discovered they could expose film multiple times to different images, thus creating an overlay effect. This technique was initially considered a mistake or flaw in photography but gradually gained recognition and acceptance for its artistic potential. It is now a beloved staple in the world of creative photography. Today, with tools like Photoshop, this technique can be applied more controlled, ushering in a new digital art era.
Double exposure effects are widely popular for their creative and surrealistic appeal. They frequently appear in advertising, graphic design, music album covers, and film posters. They convey multiple messages or concepts simultaneously, add depth and complexity to visuals, and invoke emotions. Furthermore, they can create a unique blend of realism and imagination, creating a compelling image that engages viewers on multiple levels.
Creating the Double Exposure Effect
Creating a double exposure effect in Photoshop involves a few key steps, including opening and preparing the Photoshop software, precisely positioning your chosen images within the software, and adjusting the size and background of your images to achieve optimal results.
Opening and Preparing Photoshop
Before you can create your double exposure effect, the first step is to open Adobe Photoshop. After launching the program:
- Navigate to 'File' and then 'Open' to select the image you wish to use for your portrait layer.
- For the best results, choose a portrait image with a white or very light background, which will help create a more effective double exposure effect.
- Once you have chosen your first image, repeat this step to open a second image, which you will merge with your portrait.
The latter can be anything from an environmental scene to a cityscape or an abstract design. Experimenting with different images is part of the creative process of creating a unique double-exposure effect.
Positioning the Images
After you have opened both images, it's time to position them for the effect. To do this, select the Move Tool from the toolbar (it looks like a cross with arrows) and drag your second image onto the first one. You should place the second image on a new layer above the portrait. You can adjust the order of your layers in the Layers panel. Additionally, ensure that the second image completely covers the first one. Properly aligning the images will contribute significantly to the final quality of the effect.
Adjusting Image Size and Background
Once your images have fallen into place, you may need to adjust the size of your images and their backgrounds to create the most effective double-exposure effect. Use the Free Transform Tool (Ctrl+T for Windows, Cmd+T for Mac) to resize or rotate your images as necessary. As for the backdrop, white or lighter-toned backgrounds are often the most effective for double exposure as they allow the top layer images to stand out more. You can also adjust the opacity of the top image layer to control how much of the background image is visible. At this point, you can change the blend mode of your top image to get a sense of how your effect might look.
Procedures Involved in the Double Exposure Effect
You must follow several procedures to achieve a successful double exposure effect in Photoshop. These include changing the opacity and blend mode of the top image, creating a layer mask to control image exposure, and using the brush tool to enhance visibility.
Modifying the Opacity and Blend Mode of the Top Image
Once you have positioned your images correctly, the next step is to tweak the opacity of the top image to create the double exposure effect. Lowering the top layer's opacity allows the bottom layer to show through more prominently. After adjusting the opacity, you must change the blend mode. The blend modes determine how two layers interact - for creating a double exposure, 'Screen' or 'Lighten' blend modes often work well. Remember, as you experiment with different opacity levels and blend modes, the effect can vary widely, so feel free to play around with these settings until you achieve your desired result.
Creating a Layer Mask to Control Image Exposure
You'll need to use a layer mask to finesse the double exposure effect and control the visibility of your images. This tool gives you control over which parts of the top image are visible and which are transparent, allowing the bottom image to show through. To make a layer mask, click the 'Add Layer Mask' icon sitting at the bottom of your layers panel. You can then use a black-and-white color gradient to adjust the transparency of your top image, with black making areas fully transparent and white making areas fully opaque.
Using the Brush Tool to Enhance Visibility
Another advanced technique for refining your double exposure effect is to use the Brush Tool. By setting your foreground color to black and selecting the Brush Tool, you can paint over the areas of your top image that you want to make transparent. That allows you to control the visibility of your images and create smoother transitions between them. Remember to switch between black and white as needed - black conceals and white reveals. These tweaks will give you complete control over your double exposure effect, allowing for a more personalized and compelling result.
Additional Effects and Finalizing the Image
Finalizing your double exposure effect in Photoshop involves adding several extra layers and effects. That can include the application of a color gradient for contrast enhancement, copying layer masks for a controlled gradient spill, and using Photoshop's auto-blend function for seamless image blending. Let's explore these procedures below.
Adding a Gradient Fill for Effect Contrast
The final steps in creating a stunning double exposure effect involve adding aesthetic features. One such feature is adding a gradient fill which can provide background contrast and helps to make the double exposure stand out. To do this, create a new layer filled with a color of your choice, and set this layer to 'Multiply.' Experiment with colors to find the perfect backdrop for your double exposure effect. Remember that the Blend Modes can dramatically change how your gradient fills interact with the images beneath.
Copying the Layer Mask for Controlled Gradient Spill
The Layer Mask tool controls the gradient spill in your composition. By copying your initial layer's mask to your gradient fill layer, you ensure that the color interacts only with the regions of your image that you want it to. That, in turn, helps to control color spill and manage the overall aesthetic of the final image. After copying your mask, you can further fine-tune the gradient's appearance by adjusting opacity levels and utilizing the Brush Tool.
Automatic Image Blending
Finalizing your double exposure may also require adjustments to ensure a seamless blend of your images. Photoshop's 'Auto-Blend' function can be a helpful tool for generating smooth transitions between your combined images. To further enhance the blending, you can apply a Gaussian Blur to the filler image, reduce its opacity, and clean up any harsh lines with the Eraser tool. This sequence of procedures will add a beautiful, soft touch to your double exposure.
The double exposure effect in Photoshop offers a captivating and artistic way to blend two images seamlessly, creating a unique visual narrative that engages the viewer's imagination. With the proper techniques and a creative approach, photographers and designers can transform ordinary images into stunning and evocative compositions. By experimenting with various blending modes, opacity adjustments, and layer masks, artists can achieve multiple moods and styles, from dreamy and ethereal to bold and dramatic. As showcased throughout this article, mastering the double exposure effect opens up endless possibilities for storytelling and expression, enabling individuals to craft visuals that leave a lasting impact and resonate with audiences across various mediums.


