Recovery Mode, or Windows Recovery Environment (Win RE), is an essential tool to troubleshoot and recover your Windows system whenever challenges occur. However, your Windows system may keep booting into this recovery mode in certain instances incessantly. This is not the standard behavior and could be a manifestation of various underlying issues within your system. Several reasons could prompt your Windows to boot into recovery mode continuously. Notably, some of these reasons are caused by technical glitches in your system or have to do with recent system updates. These include, but are not limited to:
Table of Contents
Corrupt or Missing System File
The most common reason Windows boot into Recovery Mode is due to a corrupt or missing system file. If essential files have been accidentally deleted, infected by malware, or become corrupt, this could severely impact the operating system's functioning properly, causing it to launch into recovery mode continuously.
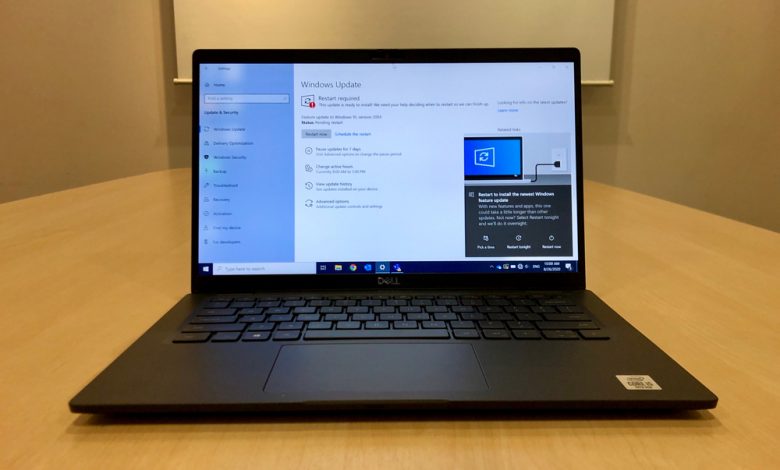
Faulty Windows Updates
Sometimes, things might not go as planned during a Windows update, resulting in failure or interrupting the update. In such cases, Windows may not boot properly, triggering the recovery mode to fix the problem.
Automatic Repair
Using the Automatic Repair feature can be a plausible solution if your Windows system is perpetually booting into Recovery Mode. The Automatic Repair feature is built to fix specific issues automatically that may be causing your system to enter recovery mode abnormally. By rebuilding the Boot Configuration Data file (BCD) and Master Boot Record (MBR) files, the Automatic Repair feature could get your system back up and running. However, additional steps may be necessary if this feature fails to work.
Creating and Using Bootable Windows Installation Media
If your Windows continues to boot into Recovery Mode despite using the Automatic Repair feature, the next solid step is creating a bootable Windows installation media. To perform this, you must first create a bootable USB or DVD with the Windows installation files. The media consequently serves a dual purpose – it acts as a Windows installer, enabling you to mount a fresh Windows installation, and as a troubleshooter, providing the tools you require to rebuild MBR and BCD files. This comprises a two-step process:
1. Creating Bootable Windows 11/10 Installation Media with Media Creation Tool
The Media Creation Tool, accessible for free download from the official Microsoft website, is a utility to create a bootable Windows installation media. This tool helps you generate a bootable USB stick or DVD with the Windows 11/10 installation package. The resulting device can be an external bootable drive to access Recovery Mode when automatic methods fail.
2. Use Installed Media to Access Recovery Mode
After creating your bootable installation media, the following step is to use it to access the Recovery Mode and enable system repairs. Begin by inserting the newly made bootable media into your computer and reboot. Once back on, your system will drift into Recovery Mode.
In Recovery Mode, choose the 'Repair your computer' option, typically located at the left lower corner of the screen. After that, a new window opens - 'Choose an option'. Here, select the 'Troubleshoot' option.
A 'Troubleshoot' menu will pop up, presenting multiple solutions. However, you need only select 'Advanced options'. From the 'Advanced options,' pick out 'Command Prompt.' This action will initiate a Command Prompt window on your PC.
In the Command Prompt window, you must input commands to rebuild your MBR and BCD files. Please make sure to enter these commands carefully, one after the other. Please keep in mind that this process may take some time. Once finished, close the Command Prompt window and restart your PC. If everything works correctly, your system should boot into Windows normally instead of Recovery Mode.
Exiting Win RE
Getting out could be tricky if your Windows System keeps booting into the Windows Recovery Environment or Win RE. However, using the bootable media you created, you can navigate the Recovery options to find a solution. Here are the specific steps you need to take to exit Recovery Mode:
- Accessing the Troubleshoot Option. Once you have inserted the bootable installation media and your system launches into Win RE mode, the initial step towards exiting it is to access the 'Repair your computer' option displayed on the screen. Upon clicking this, a menu is opened where you can select the 'Troubleshoot' option. From the 'Troubleshoot' menu, several options will become available to you, out of which you need to select 'Advanced options' to proceed further.
- Using the Command Prompt Option. After choosing the 'Advanced options,' you are again presented with a few more options. You must select the 'Command Prompt' option to open the command line interface. This process might seem a bit intimidating if you are unfamiliar with it, but following the steps accurately can urgently fix your problem.
- Rebuilding MBR and BCD. Once you have opened the Command Prompt, the final step relies on executing a series of commands to repair the Master Boot Record and rebuild the Boot Configuration Data files – the two critical components influencing your system’s boot process.
To rebuild the Master Boot Record (MBR), type the following command and press Enter:
bootrec /fixmbr
To rebuild the BCD, run the following commands one by one and press Enter after each:
bootrec /fixboot
bootrec /scanos
bootrec /rebuildbcd
Be aware it’s essential to enter these commands accurately and in the correct order. The process can take some time, depending on your system's configuration and the extent of the corruption of the boot files. Once you have completed typing in and executing the commands, you can close the Command Prompt window and restart your computer. If the process is successful, your system should boot up normally without entering the Win RE mode.


